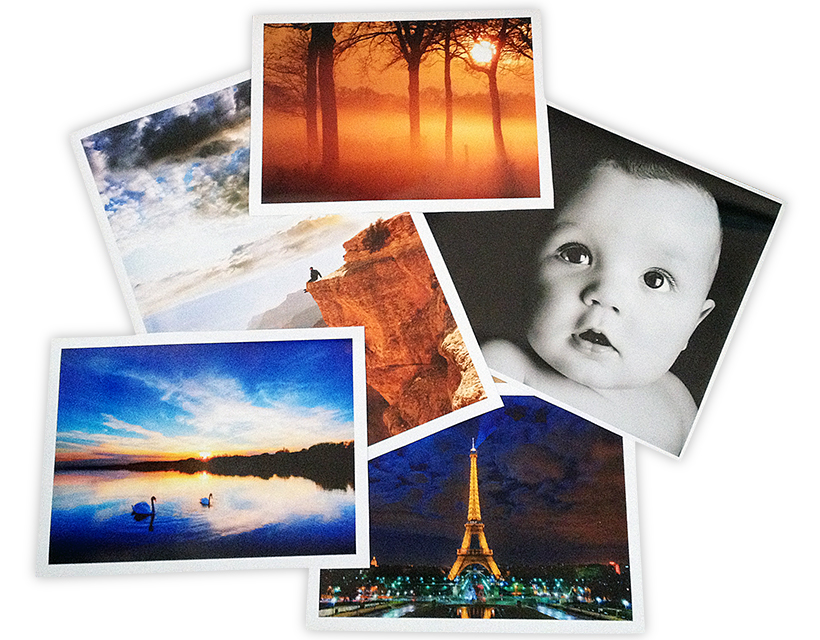
The advancement of digital cameras and photo editing software means that there are now absolutely no excuses when it comes to photo quality.
However, before you send your prints to a professional photo lab printing centre, there are a few steps to take to ensure that they are going to come out exactly as you expected.
This is the reason this article has been put together, as we take a look at some technicalities you should analyze before getting your favorite photos printed.
Assess the color
As you’ll soon find out through the course of this guide, the way in which your photo appears on your monitor or a website certainly isn’t guaranteed to be the same as what is shown on the printed out version.
Unfortunately, this is just something that you need to take into account and one of the first things you should look into is the color.
You need to find out which colors are oversaturated, or under saturated, and adjust accordingly. To provide some guidelines, red tones (a saturated color) will often appear different when it comes to printing. At the opposite side, any unsaturated tones are likely to be printed in a “washed out” way.
So, how do you navigate this problem? Usually, it just comes down to monitor calibration. Making sure that your monitor is displaying tones as accurately as possible is the sure-fire way to get that elusive balance and ensure that the colors are printed out as planned.
Do the same with the contrast
At this point, you’re probably saying that you’ve already adjusted the photographic contrast and you don’t need to make any further changes. Well, we are going to dispute said claim.
Sure, you might have opened up Photoshop and adjusted the contrast levels, but have you done this with one eye on the end result? We’re going to assume not.
The problem when it comes to contrast is that the monitor distorts everything. As you might expect, there is a lot of light emitted by these screens, and this can really play tricks on your eyes when it comes to contrast.
So, how should you tackle this problem? Put simply, increase your contrast by more than you initially thought. By the time it gets to print, this should normalize everything.
The resolution factor
The larger the image you are viewing, the more this issue is going to become apparent. If you are in the business for large-scale prints, there’s no doubt that you have to pay extra attention to this detail to ensure that everything goes to plan.
For those unaware, an image with low resolution means that pixilation might occur if you look closely at it. Naturally, this is a problem that you don’t want to exist.
As a pointer, you should be looking to set a resolution for at least 300 DPI, although ideally it should be even higher. This is easy to do in programs like Photoshop, which make it crystal clear in the settings. Such a setting will mean that 300 “dots per inch” are printed – and this should be sufficient for the majority of printed photos.
Leave a Reply